When I first jumped into my current series of tree-based artworks, I had sketches and ideas of how I might use these printed pieces in different ways.
One way: Explore my interest in the tree images as tree images. Their complexity. Depicting them in layers.
Just this week I have completed the large quilt I’ve been working on and writing about recently. Here it is.
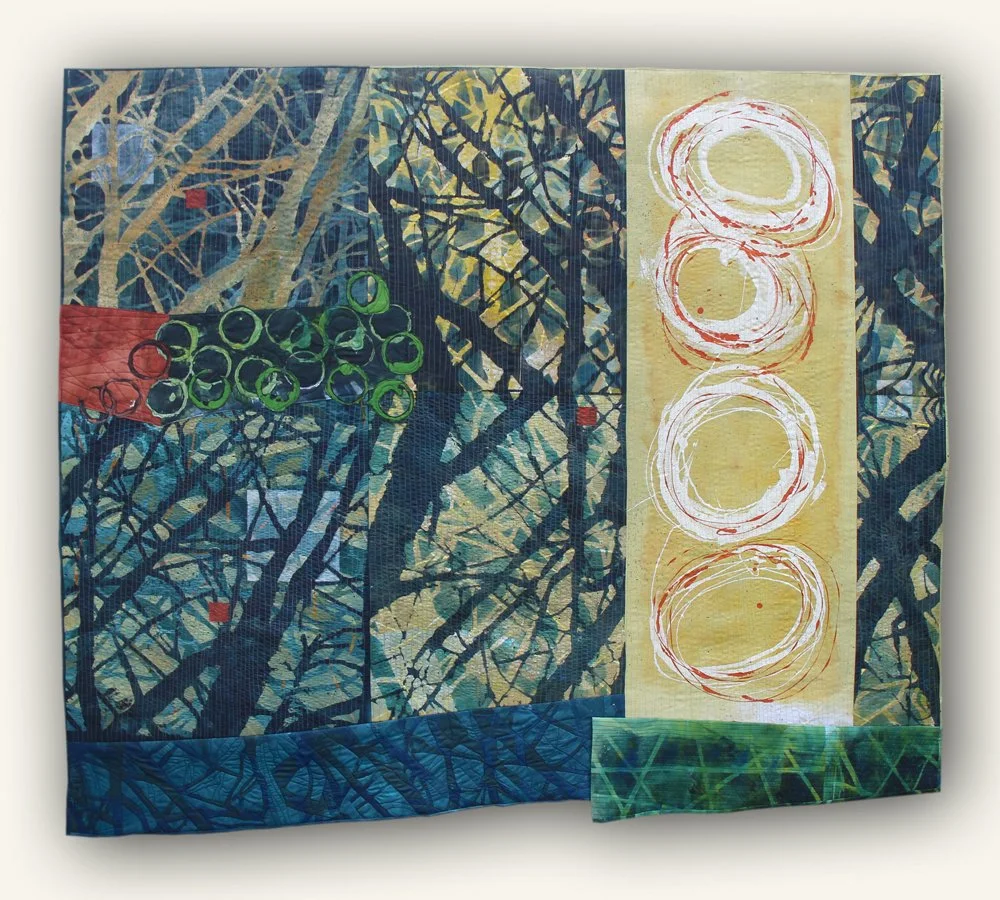
Writing Using Very Few Words 51.5"H x 59"W More info my website HERE
Now I have that nice sense of accomplishment that comes from completing a large project. And, as often happens, as I was in the finishing stages of this work, ideas for a new work began to cook. I have been inspired to begin a quilt using the trees differently.
Second Way: Explore the trees as components of storytelling works.
Here’s how some of that has progressed this week.
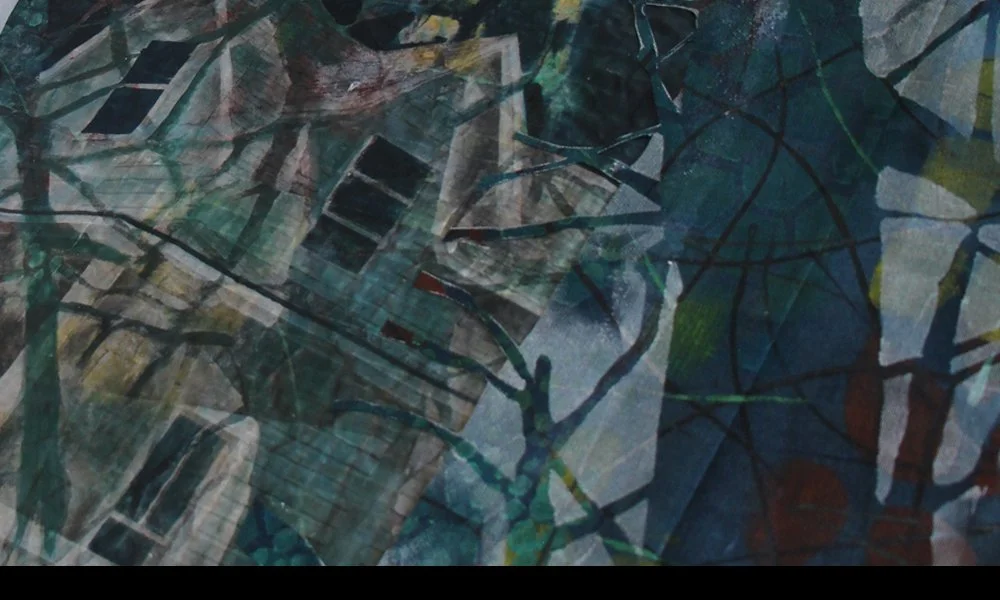
At the core of this storytelling work will be an image of a home remembered, layered in the printed fabric of the tree limbs. I created the house as a photo transfer, with tree limbs superimposed and made transparent. It worked. But it was not enough. I realized I’d actually have to do some manual overlapping as well.
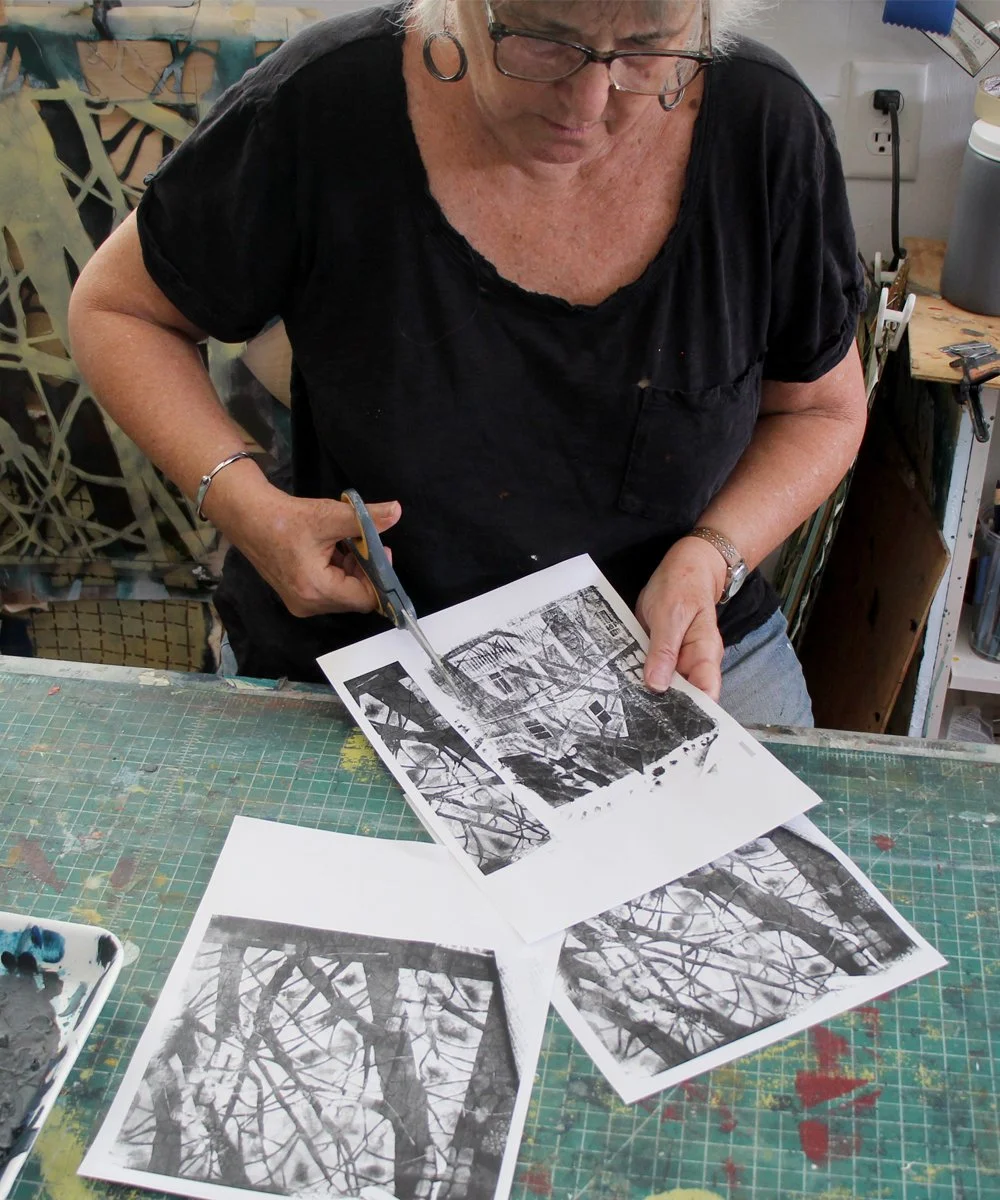
I love the panel of trees I printed, so I was very careful before cutting it up. With paper printouts of both the house and the tree panel, I worked out exactly how to overlap them, and how to get the best use out of the tree section.
I cut the trees and the house print and arranged them left to right: strip of trees, house in the middle, another strip of trees. To attached them to each other, at this stage I just glued the edges.
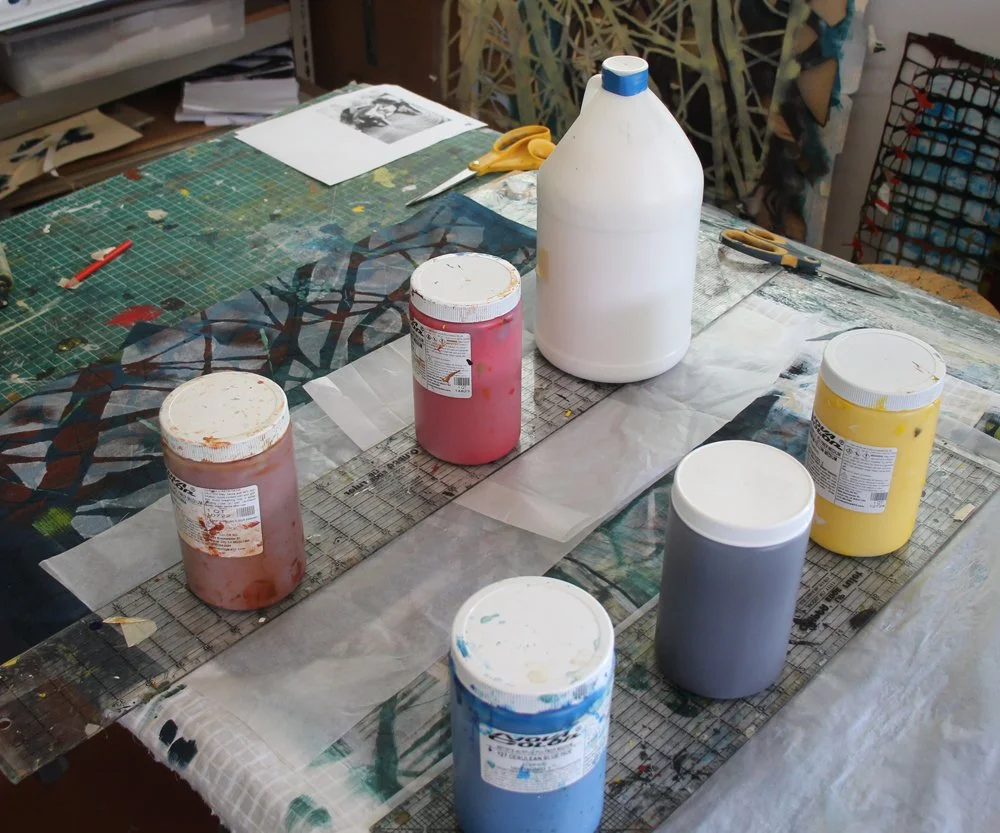
Here are the three pieces on my worktable, under weights, with the glue drying. When you glue fabric, wrinkles are your enemy. I put wax paper on top of the artwork so the weights won’t stick to the quilt. For this application, I used my plastic cutting rulers to disperse the weight. Long and skinny, and just the size of the area being glued. I weighted them with jars of paint.
After about an hour, I took it apart and pulled off the wax paper.
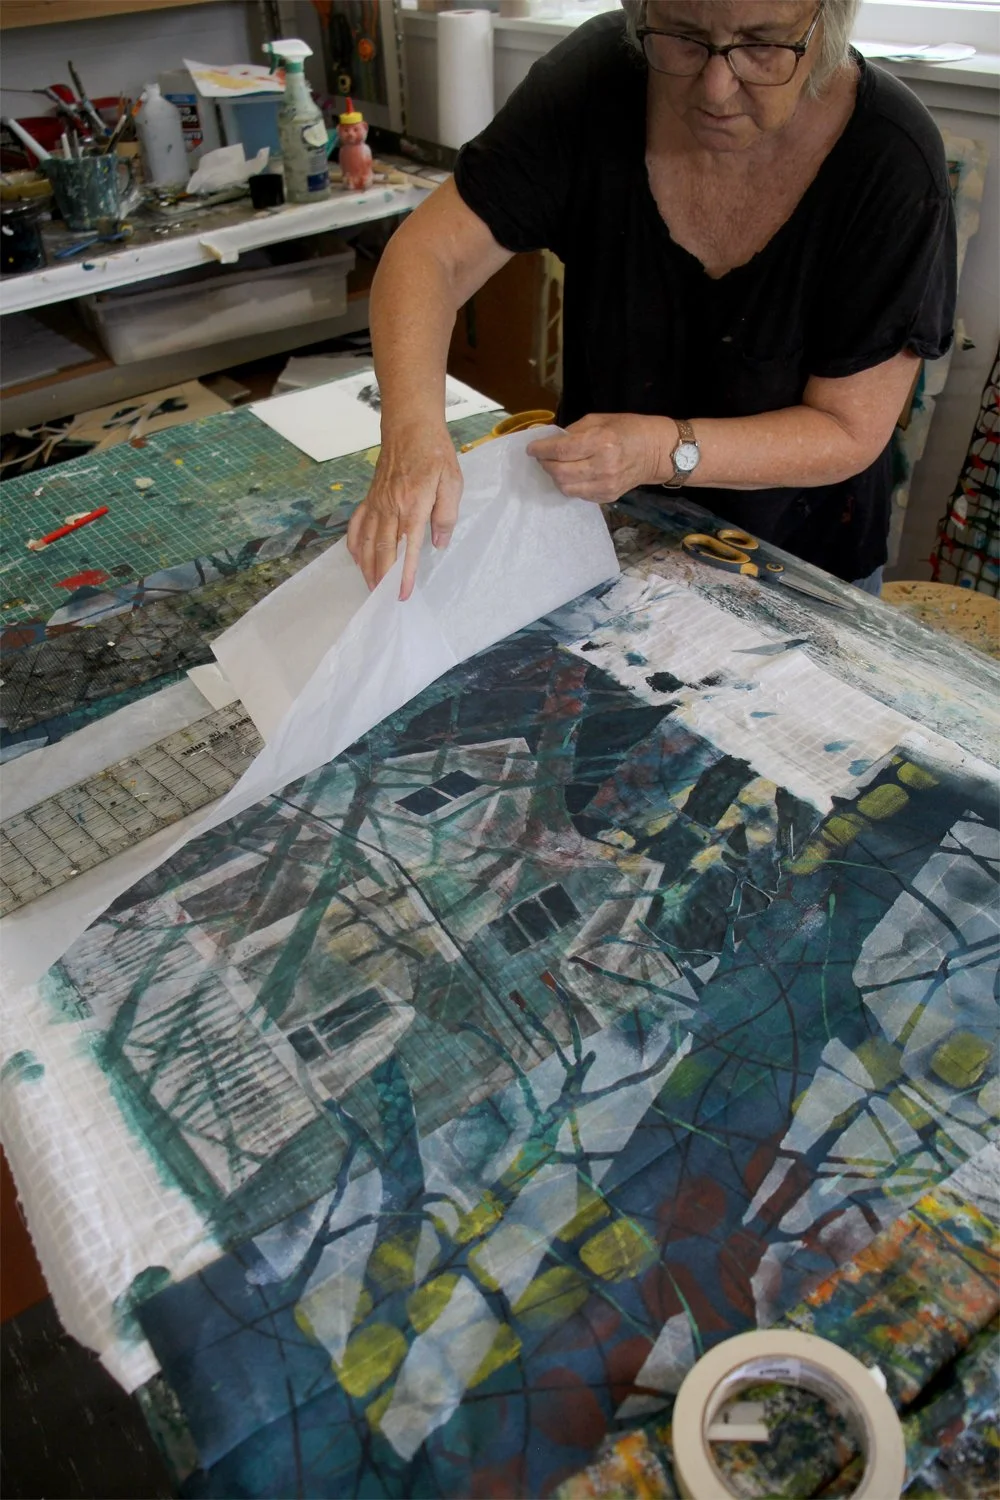
The pieces are joined, and nice and flat. I’ll work this as a section quilting it onto a felt backing.
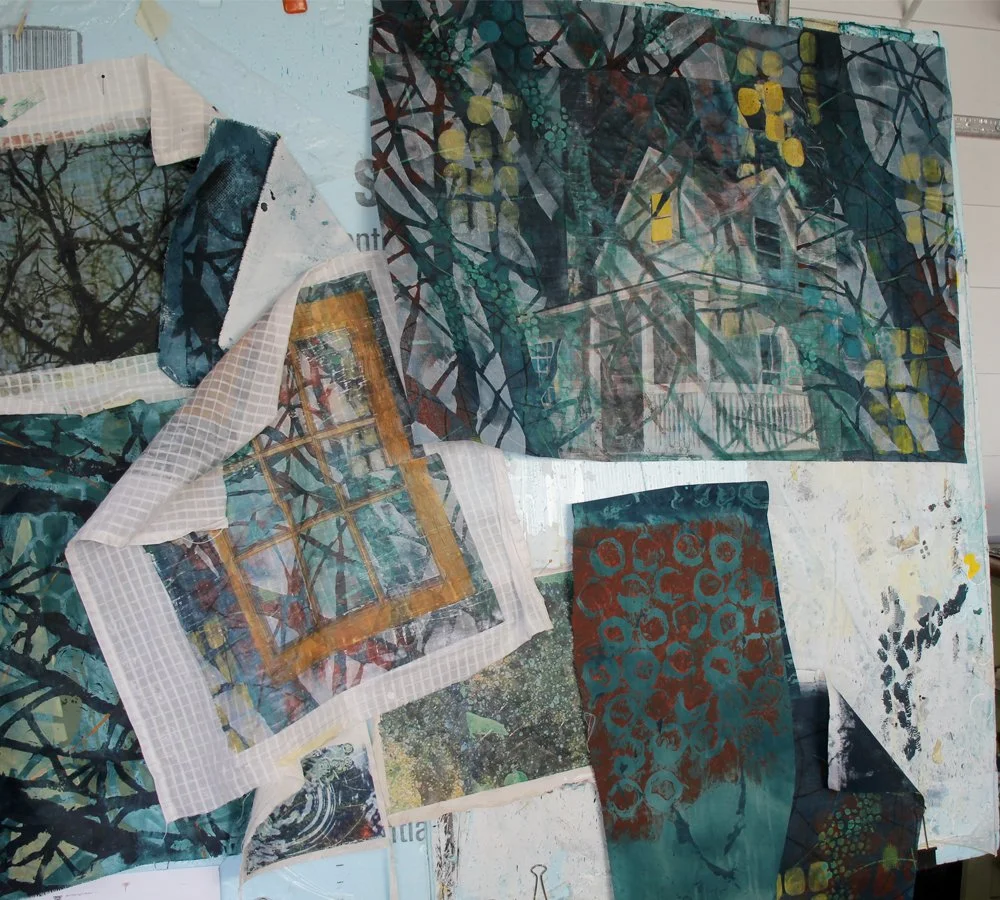
Here are various fabric pieces I have created (or gathered from my stash) that I think will go together well as elements in the quilt. I have them pinned up to a Styrofoam sheet on my easel.
The character in the quilt will be a young girl, viewed from above as she sits by water dangling her toes. I enlarged a reference photo, traced it onto muslin, and have begun the process of collaging this section.

Next up: I’ll be developing and deepening the depiction of the girl, and then incorporating her and all the elements into a new story.
When I create quilts inspired by memories and life experiences, the early stages are like the work I’ve done this week. I’m just beginning. I’m thinking about how to compose the picture plane, how to attach the pieces onto one another. The deeper communication between me and the characters and me and the memory will evolve as the piece progresses. There will, I hope, be much to think about.
. . . . . .
For all the artmakers: Happy creating
For all the art lovers: Happy appreciating
Thank you for reading. I always enjoy questions and comments.
--Bobbi
How I keep in touch:
BLOG POSTS - once a week: Mostly about what I am creating in the studio. If you would enjoy receiving blog posts by e-mail, please subscribe here: I post and send by e-mail each Sunday evening. BLOGS-BY-EMAIL
NEWSLETTER – about once a month: Mostly news of exhibits and my way of introducing new work. You’ll get FIRST LOOKS at new artwork and members-only discounts. You’ll hear from me about once a month. NEWSLETTER